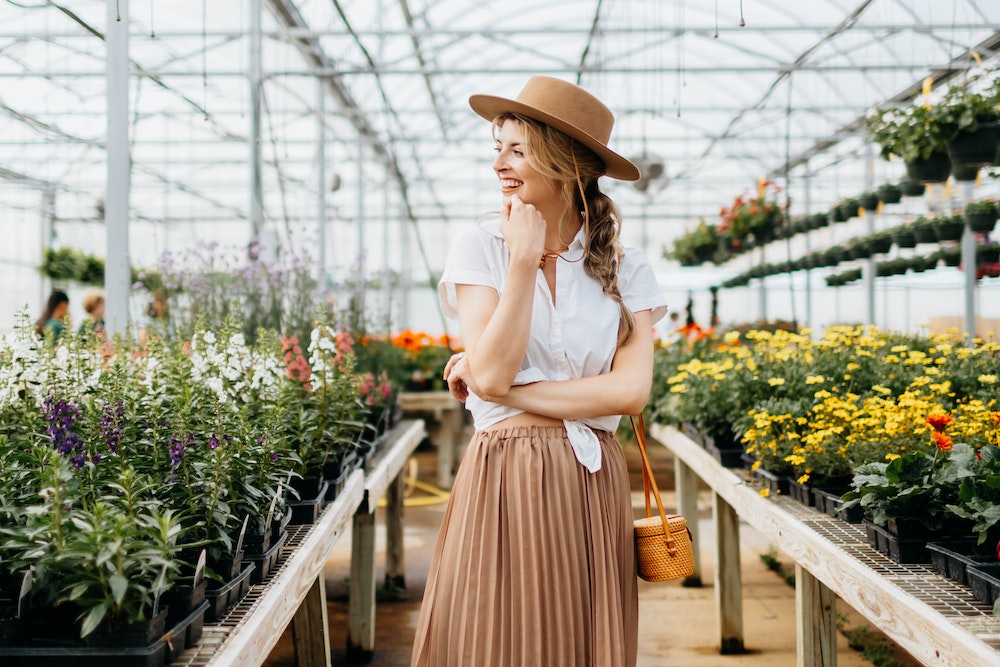
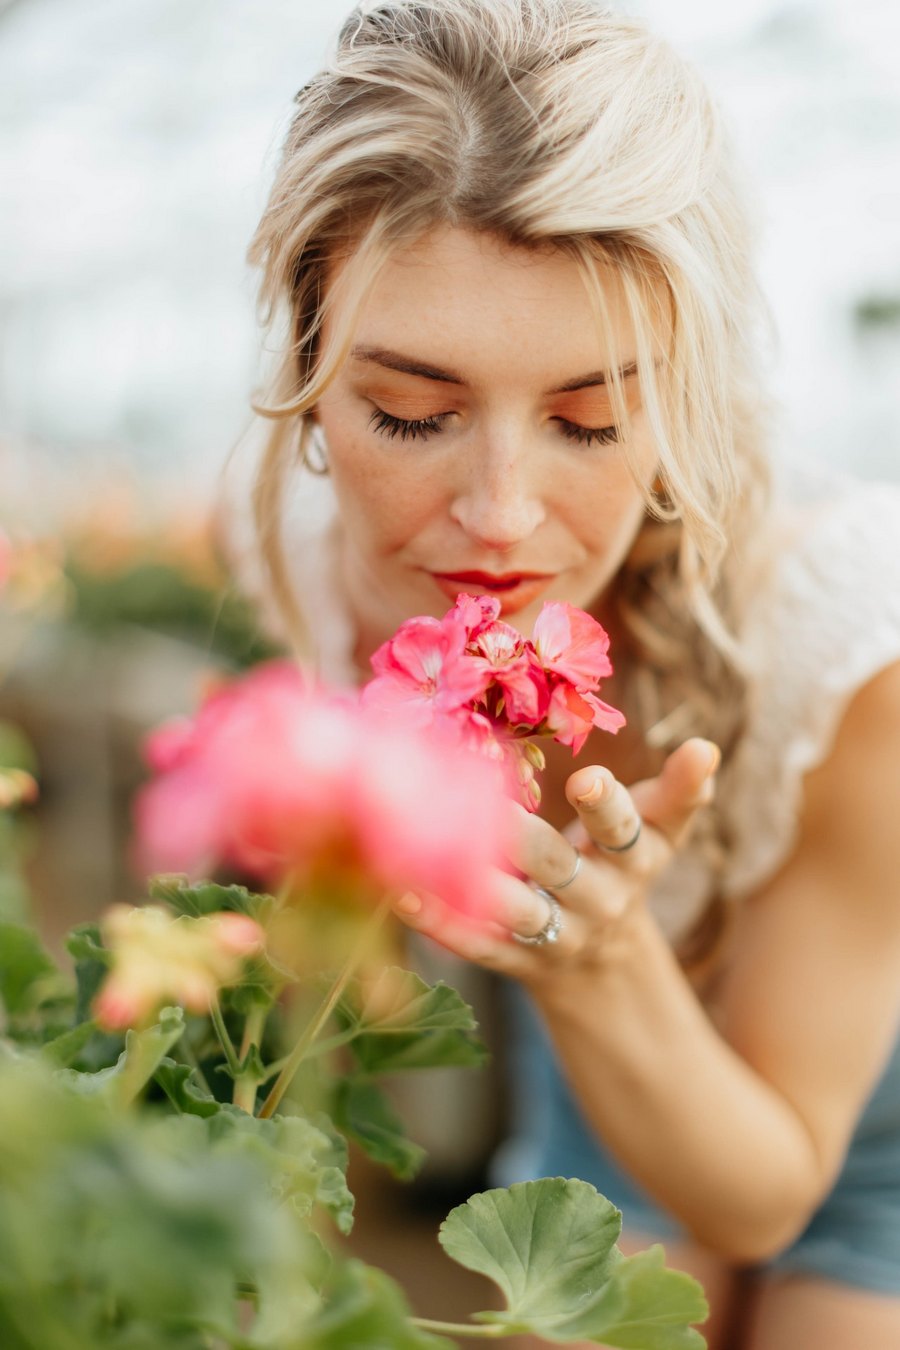
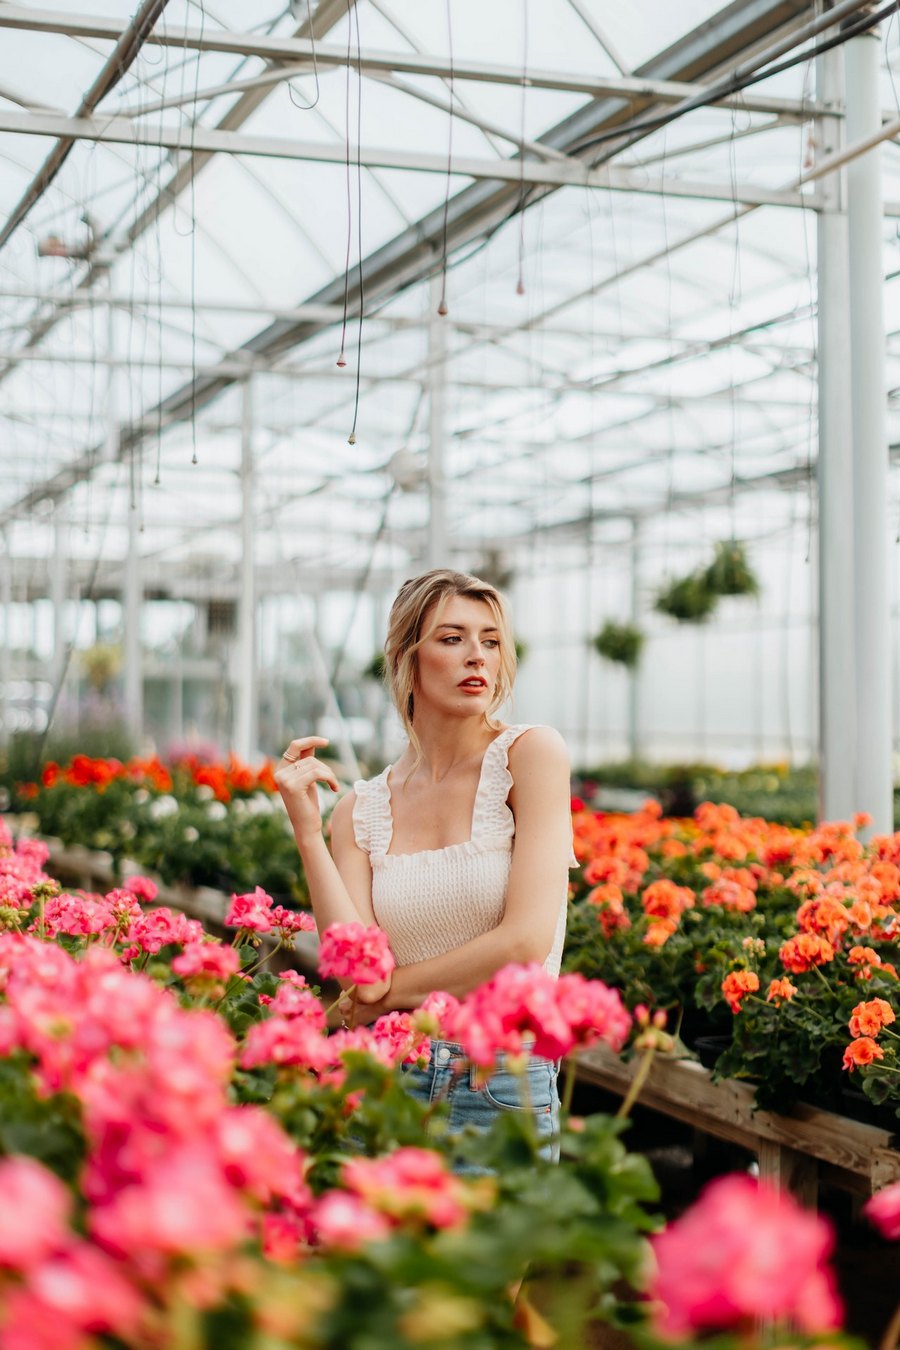
Gardens are sanctuaries, personal havens where you can escape, relax, and find peace. However, not all of us have a green thumb or the time to spend hours maintaining a vibrant garden. Yet, the longing for a garden full of colorful blooms persists. You’re probably wondering, “How can I create an eye-catching garden that doesn’t require a Ph.D. in botany to maintain?” Look no further. This comprehensive guide will walk you through the various aspects of choosing, planting, and caring for flowers that are both beautiful and easy to maintain. From soil preparation to seasonal care, you’ll become well-equipped to cultivate a dream garden with minimum fuss.
Selecting the Right Flowers: How to Choose the Best Varieties for Your Garden
The first step in cultivating a manageable yet gorgeous garden is to make intelligent choices about the types of flowers you plant. Many novice gardeners make the mistake of selecting flowers solely based on aesthetics. While the appearance of flowers is undoubtedly important, various other factors need to be considered to ensure your garden thrives with minimum effort.
- Climate Compatibility: The climate of your area plays a critical role in determining which flowers will flourish. For example, sunflowers are heat-tolerant and thrive in full sun, while impatiens are better suited for shady spots.
- Soil Type: It’s not just about the flowers; it’s also about the ground they grow in. Some flowers prefer acidic soil, others alkaline. Testing your garden soil will give you a better idea of which flowers are best suited for your garden.
- Bloom Time: If you want a garden that’s vibrant throughout the year, pay attention to the bloom time of the flowers you choose. This way, you’ll always have something in bloom, adding constant color to your garden.
- Maintenance Level: Some flowers need more care than others. Perennials like lavender and salvia require less frequent care than annuals that need to be replanted every year.
- Space Requirements: Plants, like people, need room to grow. Make sure to consider how much space each plant needs, both above and below ground.
By taking these factors into account, you’ll have a well-rounded view of how each flower will fit into your garden’s larger ecosystem. With this knowledge in hand, you’re better equipped to make informed choices that will set the stage for a less labor-intensive, yet striking garden.
Breaking Ground: Essential Tools and Soil Preparation Techniques
The foundation of a thriving garden is well-prepared soil. Your flowers’ health is directly linked to the quality of the soil in which they’re planted. Here, the saying “well begun is half done” truly applies.
- The Right Tools for the Job: Start by acquiring the essential tools needed for breaking ground. A sturdy spade, a soil fork, and a hoe are basic requirements. Specialized tools like a bulb planter may also be necessary depending on the types of flowers you choose.
- Test the Soil: It’s highly recommended to conduct a soil test to find out its pH level and nutrient content. Most garden centers offer soil testing kits that are simple to use. The test results will guide you on whether to add specific nutrients or adjust the soil’s pH.
- Till the Soil: Once you know what you’re working with, it’s time to till the soil. This process aerates the ground, making it easier for roots to penetrate and for water to be evenly distributed.
- Add Compost: Compost enriches the soil with organic matter, improving its structure and water-holding capacity. Spread a 3 to 4-inch layer of compost over the tilled soil and mix it in well.
- Level and Water: After all the hard work, level the soil using a rake and give it a good watering to help settle it down. This is also a good time to add a layer of mulch to help retain moisture and prevent weeds.
- Map Your Garden: Before planting, it’s smart to map out where each flower will go. This avoids overcrowding and helps you visualize the garden’s final look.
With a well-prepared ground, you’re setting the stage for your flowers to thrive. It may seem like a lot of work initially, but investing time and effort upfront will save you from countless hours of maintenance down the line.
The Planting Process: Step-by-Step Instructions for Installing Your Flower Bed
Now that you’ve chosen the perfect flowers for your garden and prepared the soil, it’s time to get your hands dirty in the most rewarding way possible: planting. This is the moment where your dream garden starts taking shape, but it’s also a critical phase that can make or break your horticultural endeavor. Let’s dig deep into the intricate art of planting flowers.
- Digging the Holes: Based on the layout you prepared, start digging holes for the flowers. The depth and width of the holes should be roughly twice the size of the root ball of the plants you’re installing.
- Placement and Orientation: As you place each plant in its hole, be mindful of its orientation. Some flowers have a “face” that looks best when oriented toward the sun or a particular focal point in your garden.
- Backfilling: Once the plant is correctly placed, backfill the hole with soil, taking care not to bury the stem. Press the soil down gently to remove air pockets which could dry out the roots.
- Watering: Immediately after planting, give each plant a good soak. This helps to settle the soil and ensures that the roots are in full contact with the soil.
- Spacing: Pay attention to the spacing guidelines for each type of flower to avoid overcrowding. Good airflow between plants helps prevent diseases and promotes healthy growth.
- Labeling: As a final step, consider labeling each plant. This serves as a helpful reminder of what you’ve planted where, particularly useful when it comes to future maintenance or seasonal replanting.
The planting process may be labor-intensive, but each step is vital to ensuring your plants have a robust start. Proper planting is a one-time effort that pays off in the form of a resilient, low-maintenance garden that you can enjoy for seasons to come.
Watering Wisdom: How to Provide the Right Amount of Moisture
Watering seems like the most straightforward part of garden care. Turn on the hose, and you’re good to go, right? Unfortunately, it’s not that simple. Both under-watering and over-watering can have detrimental effects on your garden. Let’s explore the golden rules for keeping your garden adequately hydrated without running the risk of waterlogging or drying out.
- Know When to Water: Timing is crucial. The best time to water your garden is early in the morning or late in the afternoon to reduce evaporation losses.
- Observe the Soil: Before watering, it’s always a good idea to check the soil’s moisture level. If it’s damp about an inch below the surface, you can skip watering for the day.
- Watering Methods: Different flowers have different watering needs. Drip irrigation systems are excellent for delivering precise amounts of water directly to the root zone, minimizing waste and preventing the foliage from getting wet, which can lead to fungal diseases.
- Seasonal Adjustments: Your watering routine will need to be adjusted according to the season. Flowers generally require more frequent watering during the hot summer months and less during the cooler seasons.
By mastering the nuances of watering, you’re well on your way to a garden that is not only beautiful but also resource-efficient. The key is to adapt your watering techniques to the specific needs of your garden, thereby conserving water while ensuring each plant receives the hydration it requires.
Nutrient Needs: Understanding Fertilization for Different Flower Types
A flourishing garden is a well-fed garden. Understanding the nutritional needs of your flowers is crucial for their growth, bloom, and overall health. While water is essential, it’s not the end-all-be-all; flowers also need various nutrients that they extract from the soil. When the soil lacks these nutrients, it’s up to you to supplement them. However, indiscriminate fertilization can do more harm than good. Let’s dissect the intricacies of fertilizing your garden.
Fertilizers typically contain three main nutrients: nitrogen (N), phosphorus (P), and potassium (K). Each plays a specific role in plant health. Nitrogen is for leaf growth, phosphorus for root and flower development, and potassium for overall plant health.
- Identifying Nutrient Deficiencies: Yellow leaves, stunted growth, or reduced flowering are signs of nutrient deficiencies. Conducting a soil test can help identify what’s lacking in your garden soil.
- Types of Fertilizers: There are various types of fertilizers, from granular to liquid, organic to synthetic. Each has its pros and cons, and the best choice often depends on the specific needs of your garden.
- Application Methods: How you apply fertilizer can make a significant difference. Broadcasting over the garden bed might work for some plants, while others may benefit more from a targeted approach, such as side-dressing or foliar spraying.
- Timing: Just like watering, timing is critical when it comes to fertilization. Some plants benefit from a slow-release fertilizer applied in the early spring, while others may require multiple applications throughout the growing season.
- Safety Measures: Over-fertilizing can lead to nutrient imbalances and may even harm your plants. Always follow the application guidelines provided on the fertilizer package to avoid “fertilizer burn.”
The process of fertilizing your garden isn’t just about dumping some store-bought mix into the soil; it’s a calculated action aimed at nourishing your plants in the most effective and efficient manner. A well-fertilized garden will reward you with vibrant blooms and robust growth, making all your efforts worthwhile.
Seasonal Considerations: What to Do When the Weather Changes
The change of seasons presents both opportunities and challenges for garden care. While spring may be the season most commonly associated with gardening, the reality is that your garden lives through all four seasons, each with its own set of conditions that can impact plant health.
In the summer, your garden faces high temperatures and increased evaporation rates. The flowers you’ve so carefully selected for their resilience and low maintenance needs will now be put to the test. Attention to watering schedules, as well as the possible addition of shading elements, may become necessary to protect your plants from scorching sun and heat stress.
Come autumn, the focus shifts to preparation for the colder months. This is the time for pruning perennials, dividing overgrown plants, and maybe even installing frost protection measures like mulch or garden cloths. As the leaves fall and temperatures drop, you’ll need to consider how to best prepare your garden for winter dormancy. This might include final fertilization before the first frost and the removal of any diseased or dead plant material to prevent the spread of pathogens.
By the time winter arrives, the garden will be in a state of rest. This is your opportunity for planning the next year’s garden, perhaps rotating plants to different spots to avoid soil depletion, or making structural changes like installing new beds or pathways. Then, as the frost thaws and spring returns, so too does the cycle of planting and nurturing, leading once again to a season of magnificent blooms.
Understanding the seasonal dynamics of your garden is crucial for its long-term health and beauty. Each season has its own set of tasks and challenges, but with careful planning and a bit of gardening wisdom, you can keep your flower garden vibrant and beautiful year-round.